There are plenty of beautiful, artistic or minimalistic diaries and notebooks all over the world, yet not the perfect one for you?
Have you ever wondered how to create your own notebook or stationery with your own design?
Here, I will show you how to do your own from a scratch! So keep reading!
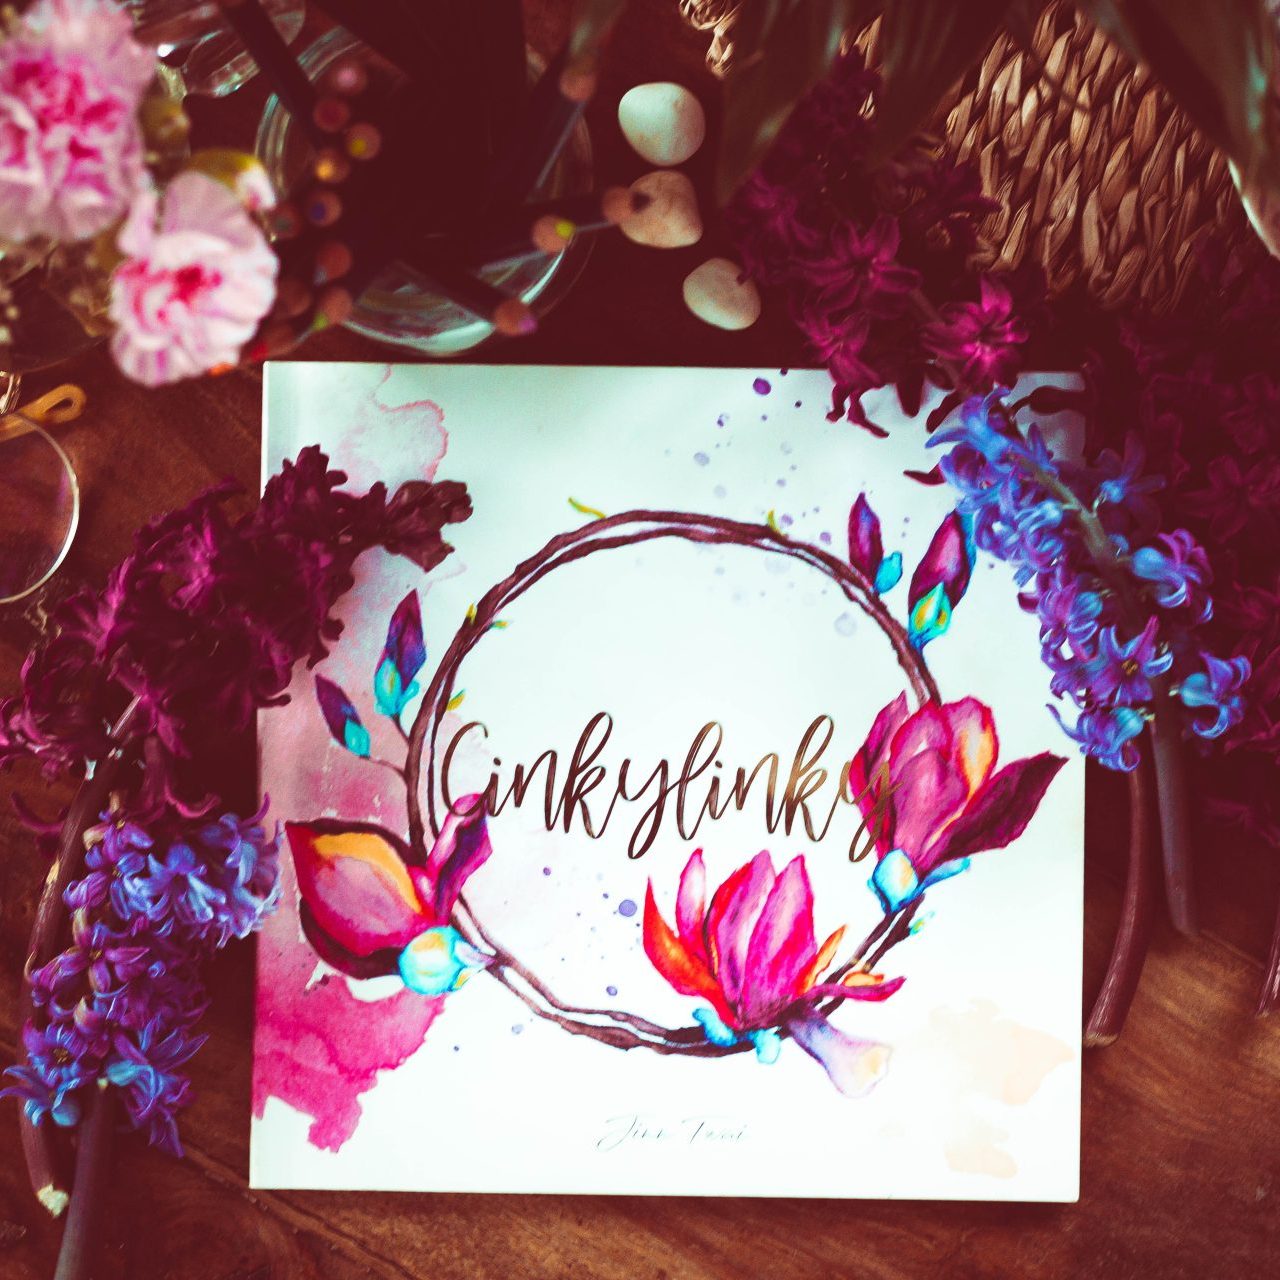
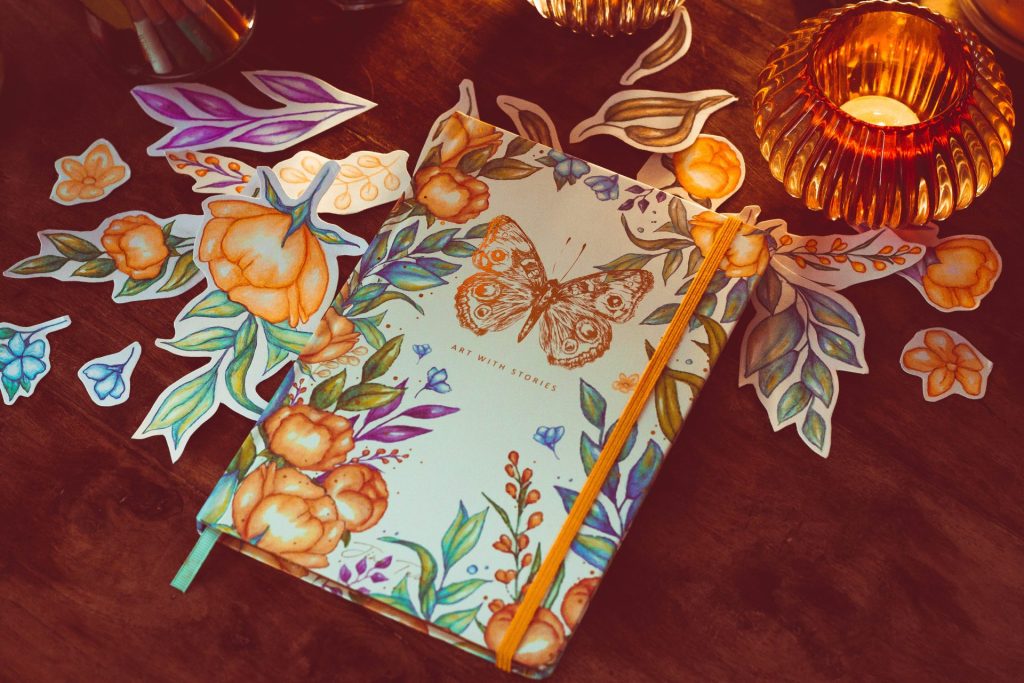
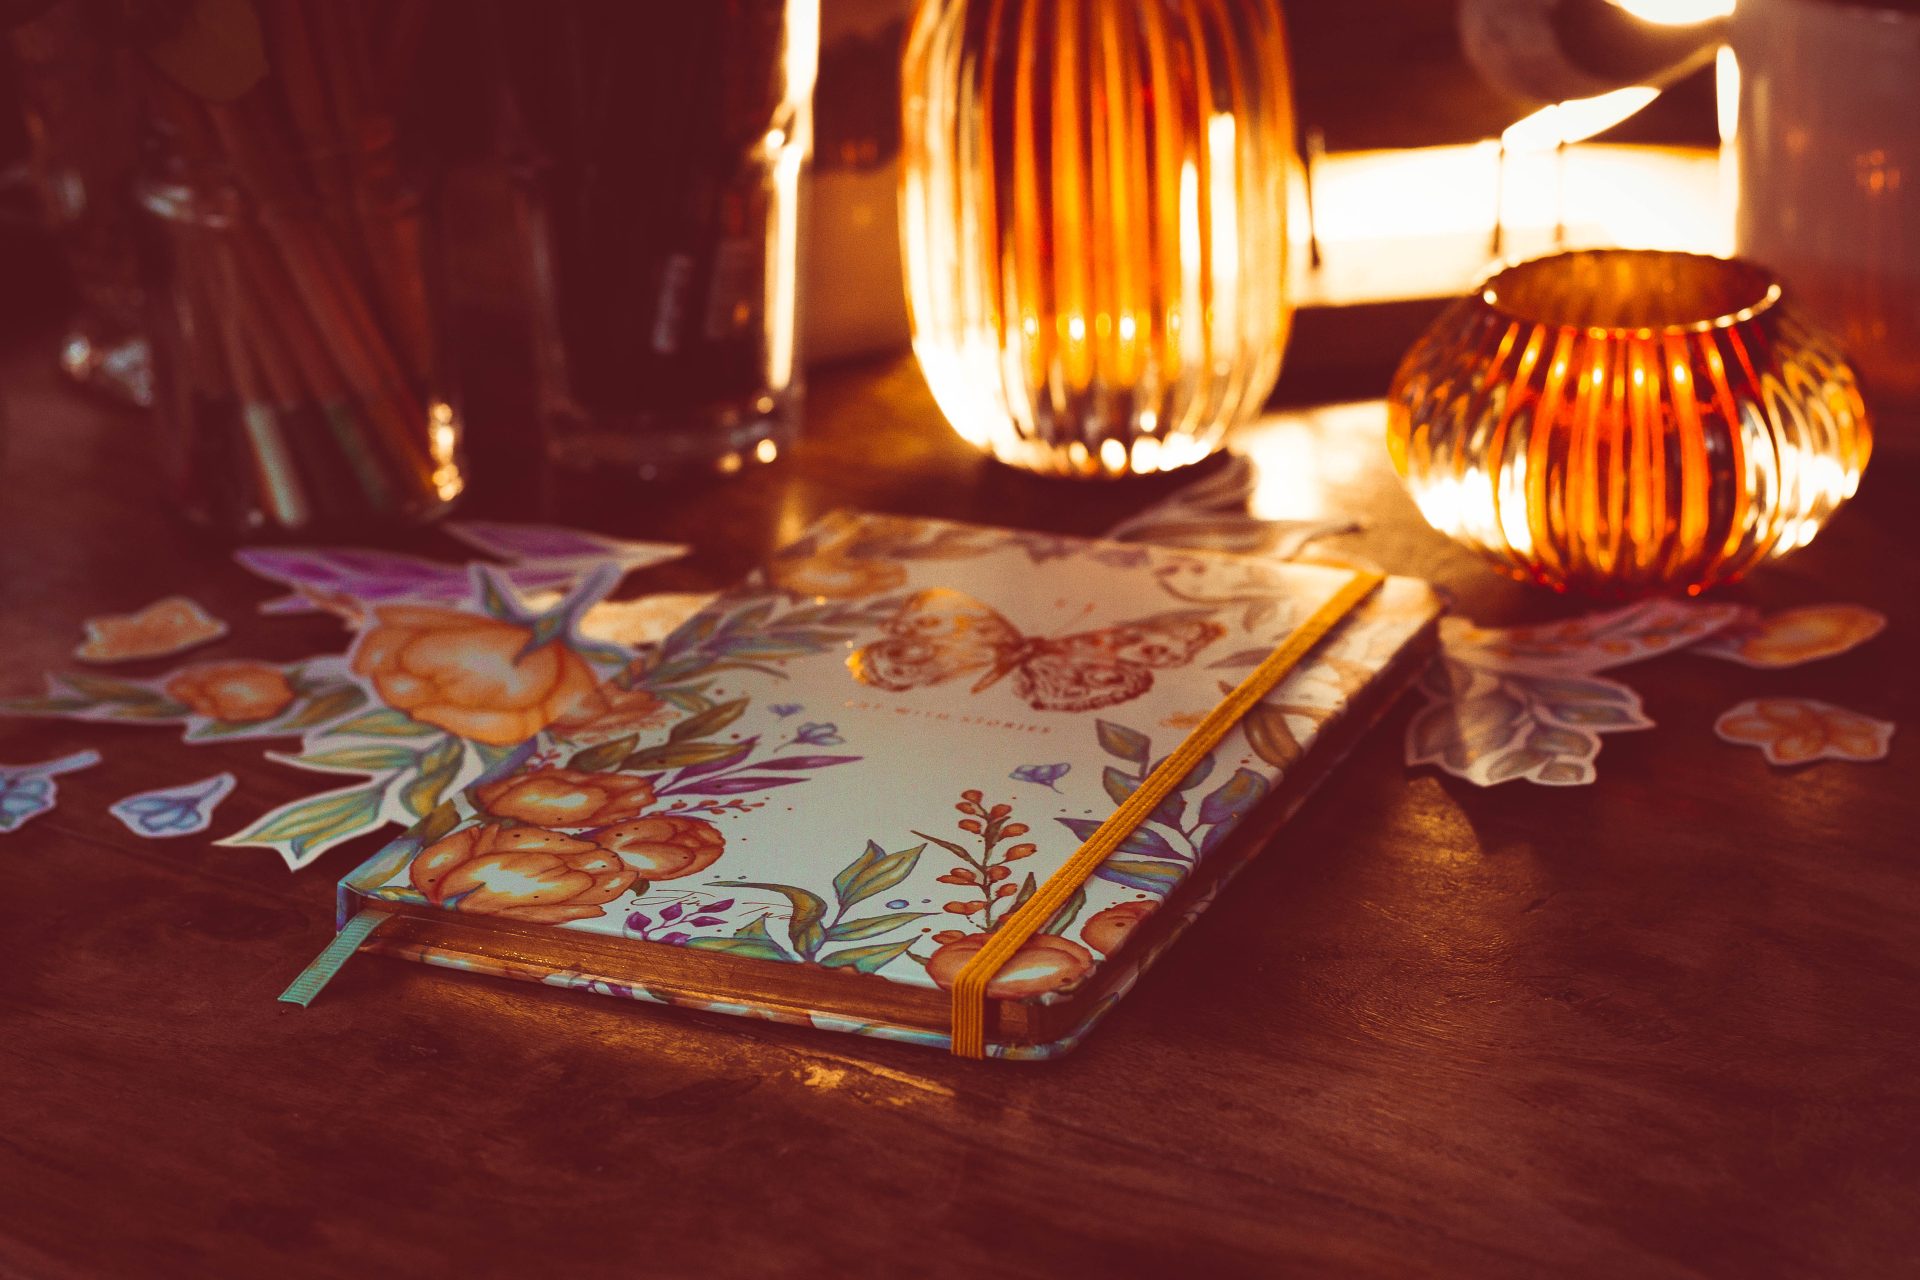
Some of you might noticed my watercolour notebook, which I have made in the beginning of this year 2022 – and I have decided to share its own journey and the step by step process, so MAYBE also you can get inspired and create one of yours!
How to create your own notebook
THINK & PLAN
So first of all – THINK!
Think about the idea and a rough design, you would like to create. Search the Internet/Instagram/Pinterest and get some inspiration.
Maybe create a little moodboard with all different variation of ideas, colours, shapes, fonts – and choose those you like the most, the one which match and reflect your style.
Choose your palette of colour, not too many though. Keep it simple and nice.
DRAW & PAINT
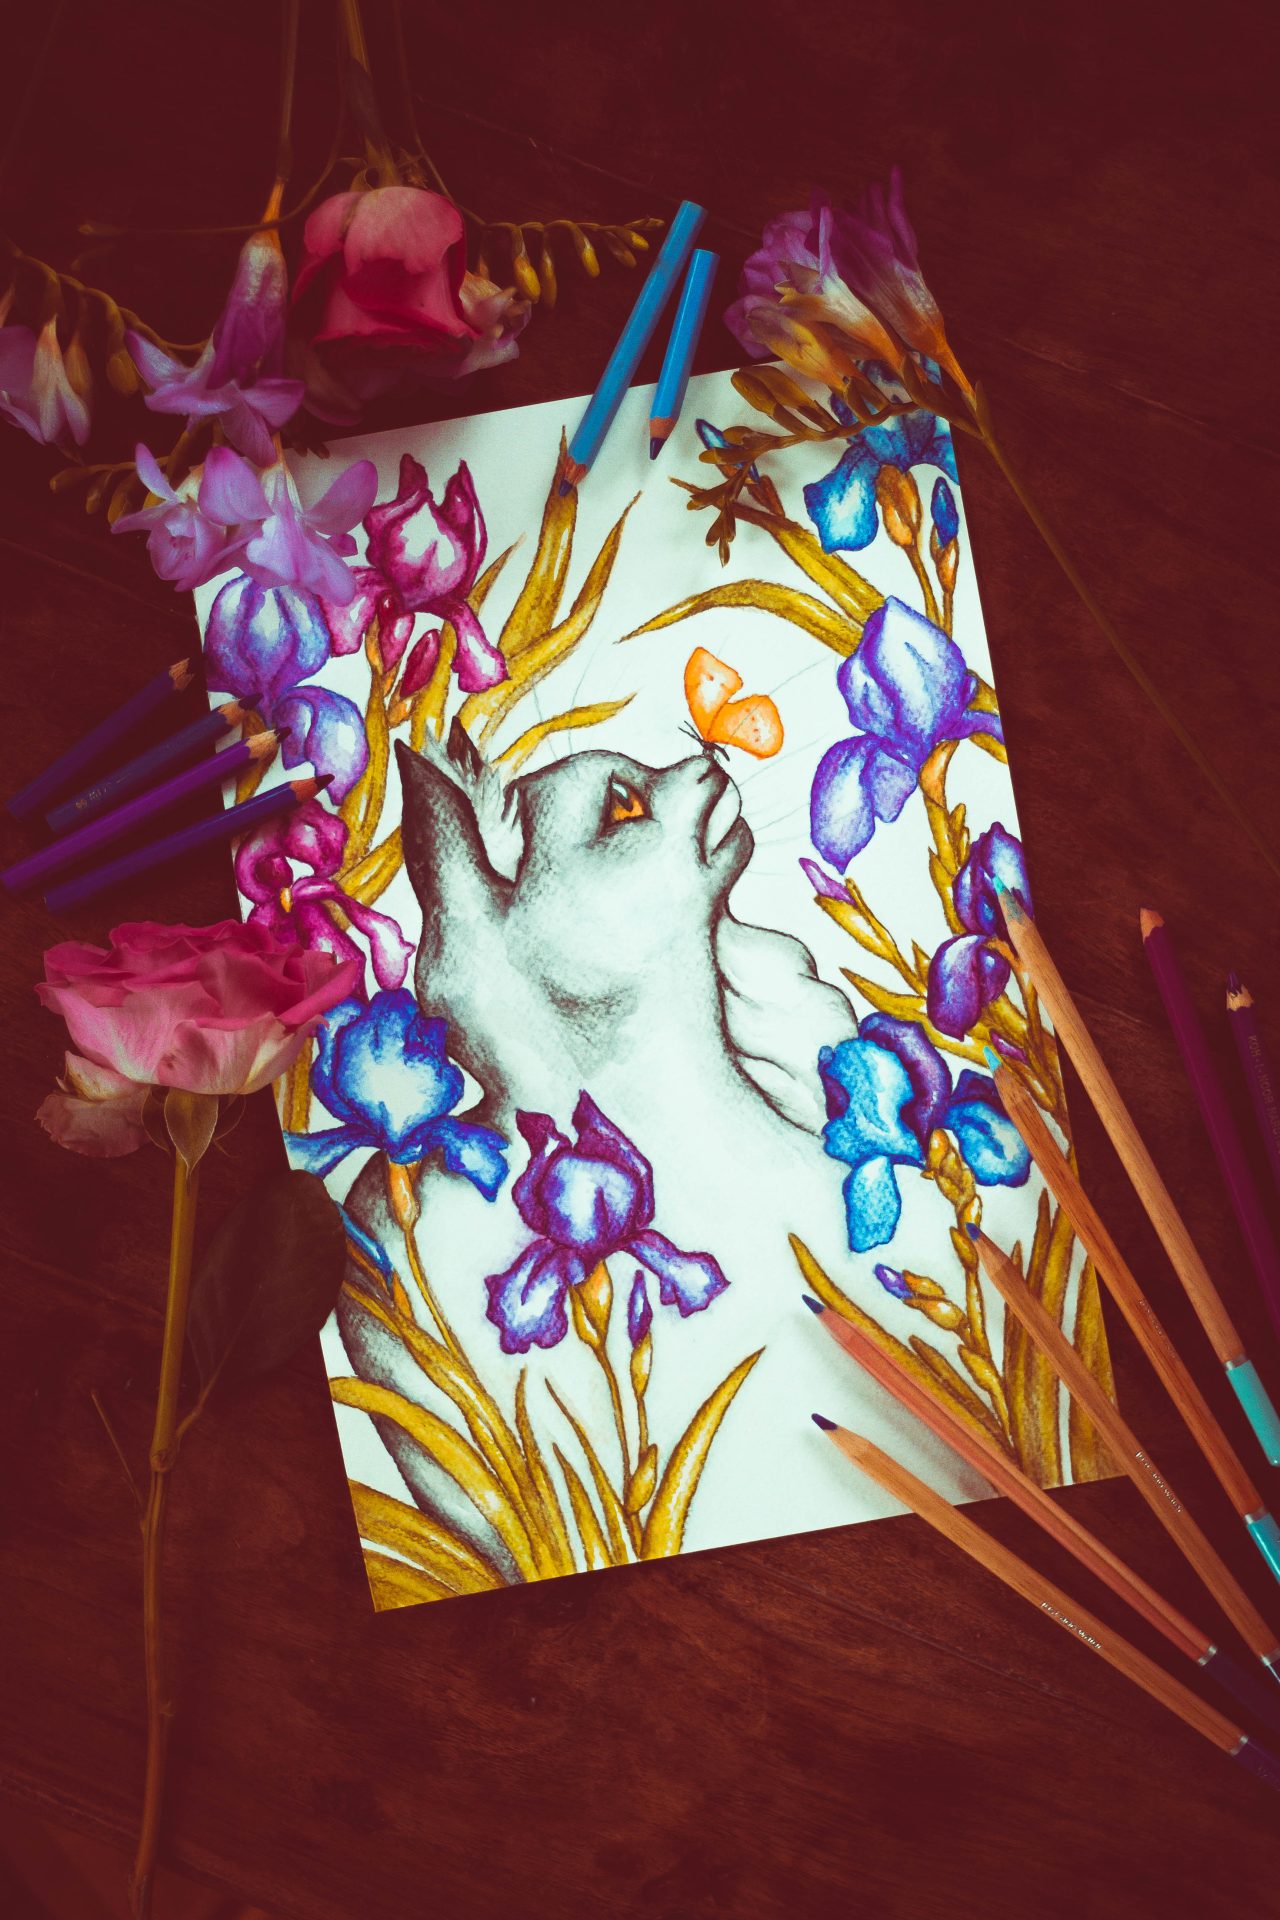
Start drawing, painting, sketching whatever you use to make an art. Give it a time and go. Think about the colours, shapes and do always more variations and drawings, so later you can choose from.
It takes time but it is always better to start with a good material to work with.
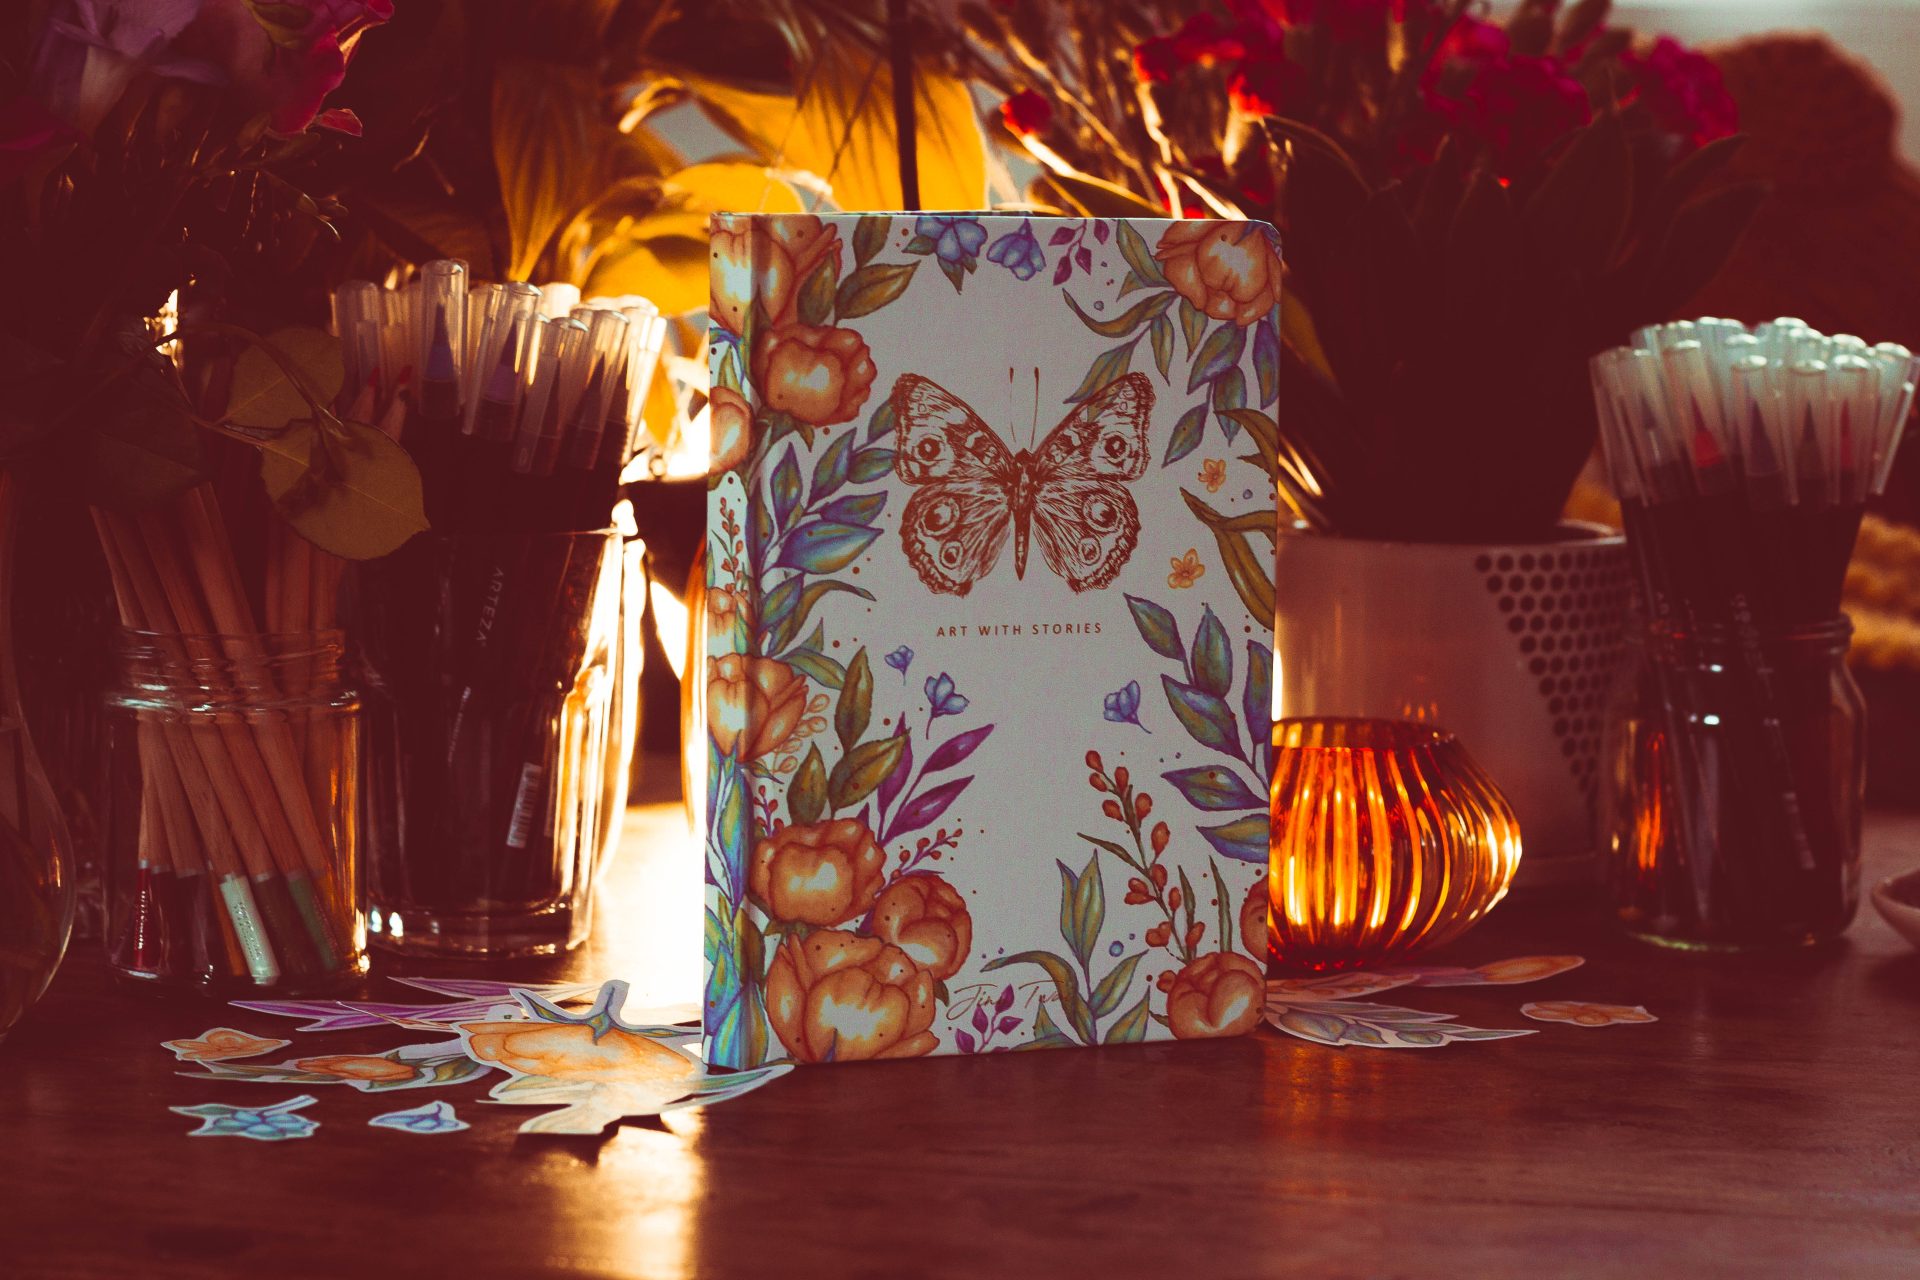
In my case I have decided to create a nice watercolour floral notebook with my illustrations and vibrant colours – so I have prepared wide range of flowers and leaves.
FROM A PAPER TO THE PC
Next step is to bring your art from a paper to your computer so you can work with it.
There are few options to choose from. Either scan or a photograph. If you are a confident photographer and can take a good picture of your art, take a good pic and simply upload it to your PC. I personally use a scan to have the best possible quality of the picture.
Sometimes is enough even just a home scanner or you can go and pay a little bit to have it professionally scanned in a copy shop.
INTO VECTORS
Once it’s in your PC make a safe place to keep all the images and let’s start!
What I do is using Photoshop to crop the image to every single part of my drawings (in my case – all the different flowers and leaves), deleting its background and saving again as .PNG to a folder. This part takes most of the time and it’s quite annoying, yet necessary.
And don’t forget to name all those pics as you go!
And as I have all the pics in the .PNG I upload them to the Adobe Illustrator, where I convert one by one to vectors and start creating my layout.
SET IT RIGHT
Create a new project in Illustrator with your desirable measurements and set your bleed right away, as you will need it later for the print factory(it’s mostly 3-5mm).
If you have already chosen someone who will print your design, it’s probably more efficient to ask ahead for right dimensions – for example the spine of a book/notebook etc, bleed, pages, etc … as it will be much easier to set it right in the beginning than at the end.
And now the FUN part!
You can start laying out all the illustrations and ideas. Take your time and enjoy it! Try to keep an eye on every single detail and centre mode, text …
Also one helpful tip: before finishing your design and sending it to the printing company, try to print it at home first. It helps me to discover little mistakes or typos.
ADD DETAILS
Add details and little special things, which will make your look authentic.
As for my designs I love to add a golden details as my logo and text as my signature feature.
It’s cold gold stamping and most of the factories would do it. As well as silver and other colours.
There are more special tools to make your results even better. have a look at:
Embossing, foil stamping, … and don’t forget to think about the inner ribbon and elastic band colours, material of the cover – like PU leather, leather, paperboard or anything the factory can offer.
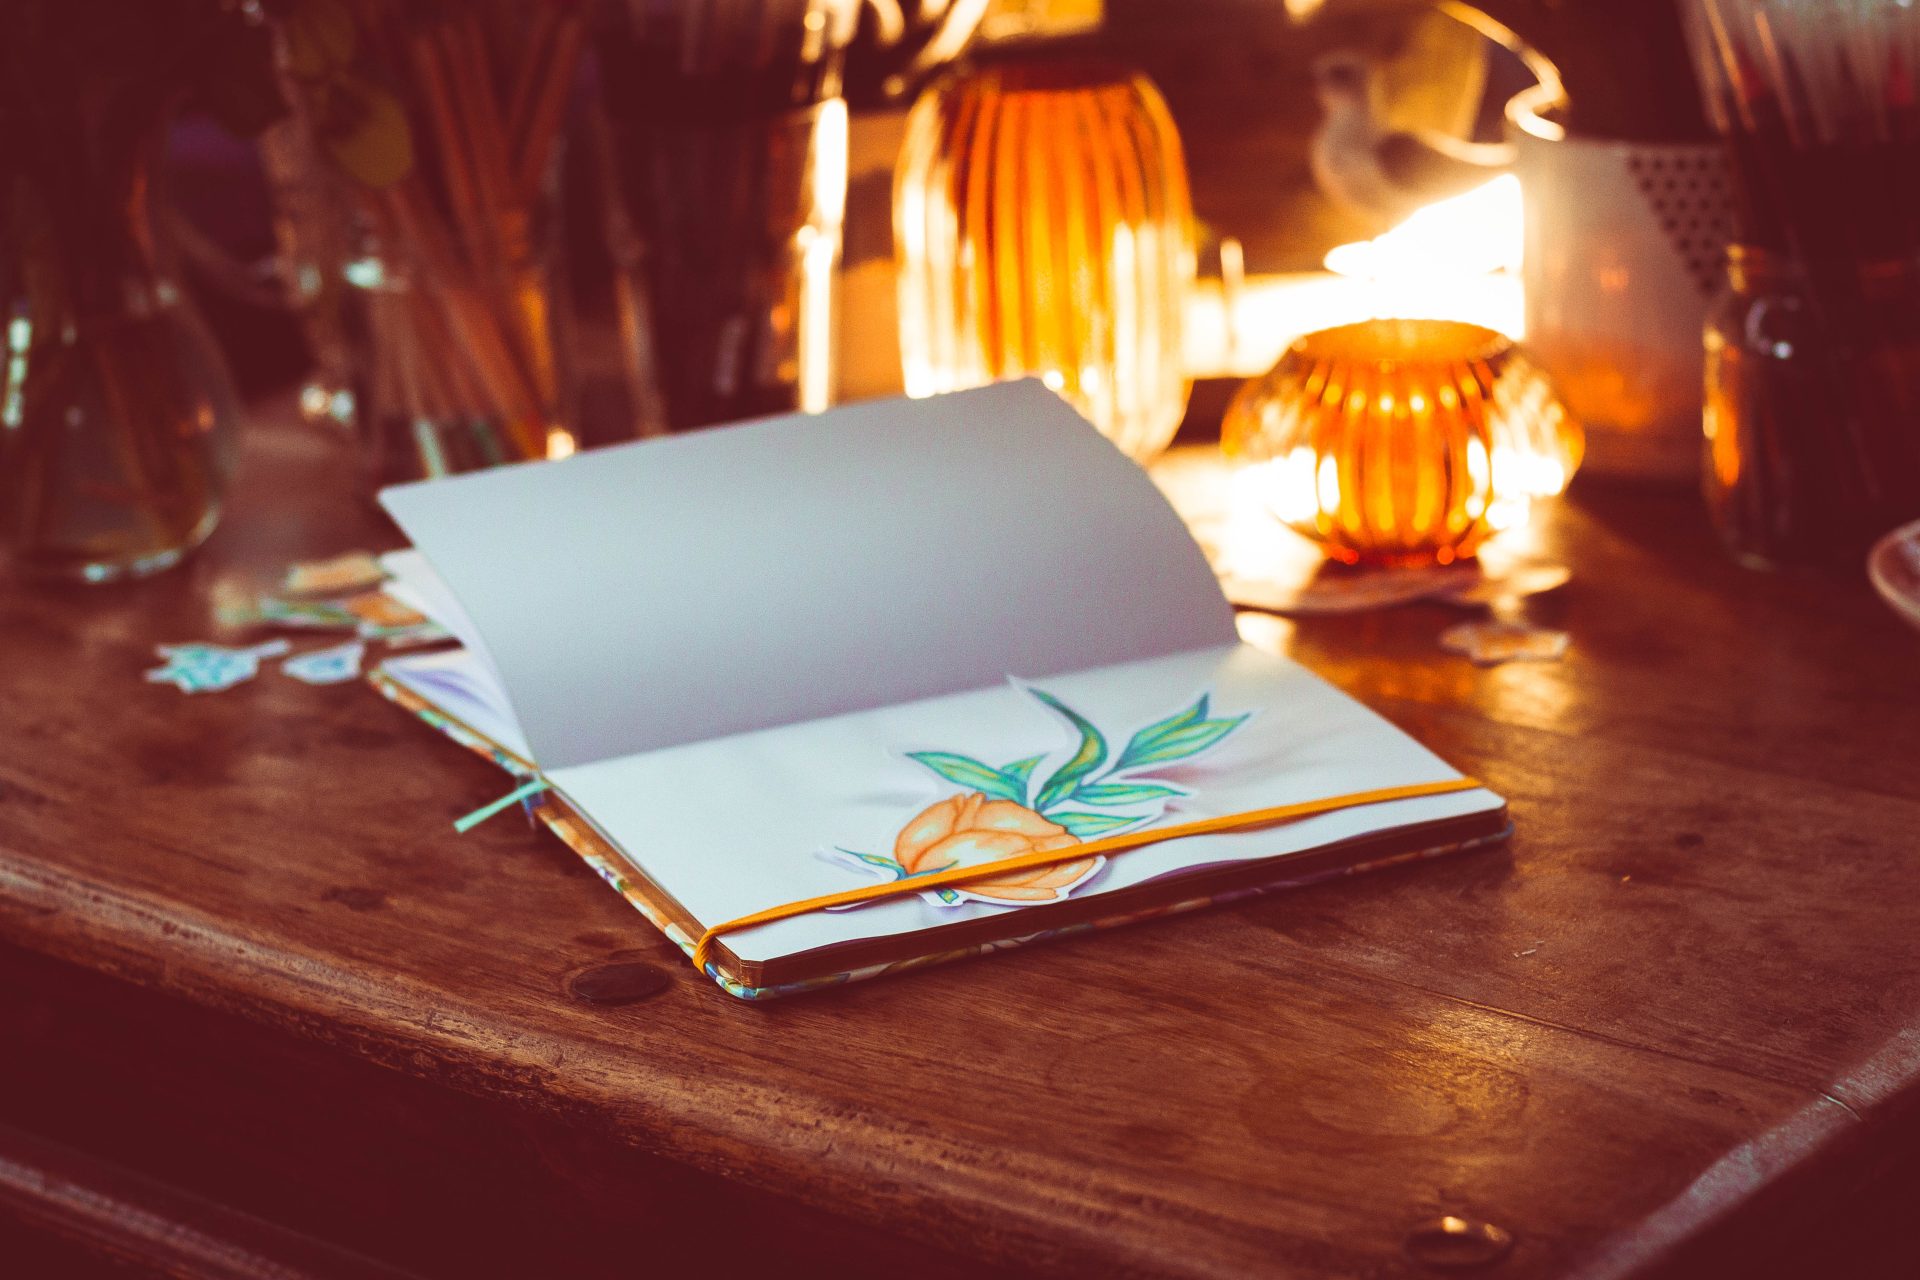
Don’t forget to decide on the amount of pages and GSM (which stands for grams per meter/ how heavy the paper will be) – to have a blank/ lined/ dotty paper …
Have your requests in your mind and once you have a printer, talk it through.
FIND A PRINTING FACTORY
Finding a right factory is tricky always. Because you might have a budget willing to spend on printing, but then it won’t necessary have a best expecting quality. So you have to be clever and see what’s more important for your notebook look and how much, you really want to spend.
Try to find and support local printing companies as well!
Getting it printed in China or Asia is an option and maybe looks like very cheap and affordable but you are taking a risk as you know what sometimes arrive from Aliexpress/Alibaba.
But if you do so, ask for samples and be very patient and eager to bring the most of it. Some factories have as well MOQ – Minimum Order Quantity, which could be from 100pcs up. So Count with that.
Create a non-binding request for various of companies and compare each other to suit your expectations the most.
GET A SAMPLE • CONFIRM • PAY
Let’s say, you have a factory, yey! So set all your requirements with them and ask for a sample!
It’s quite an important step, as you can see and feel how your design will come out, and edit/change last bits and bobs before your print 100s of them.
The sample will cost much more than a normal notebook as well.
Set a date – printing could take 2 – 4 weeks. Confirm your order and pay.
Congratulation!! You got so far!
So now just wait, check regularly on a factory is everything is alright. And pray that your order will not get lost or sink to the bottom of the ocean.
GET EXCITED!
NOW it’s the most exciting moment of the whole work, effort and endless conversations with your printing factory!
Your order has finally arrived to your doorstep!
(maybe just after you paid another ridiculous price for customs)
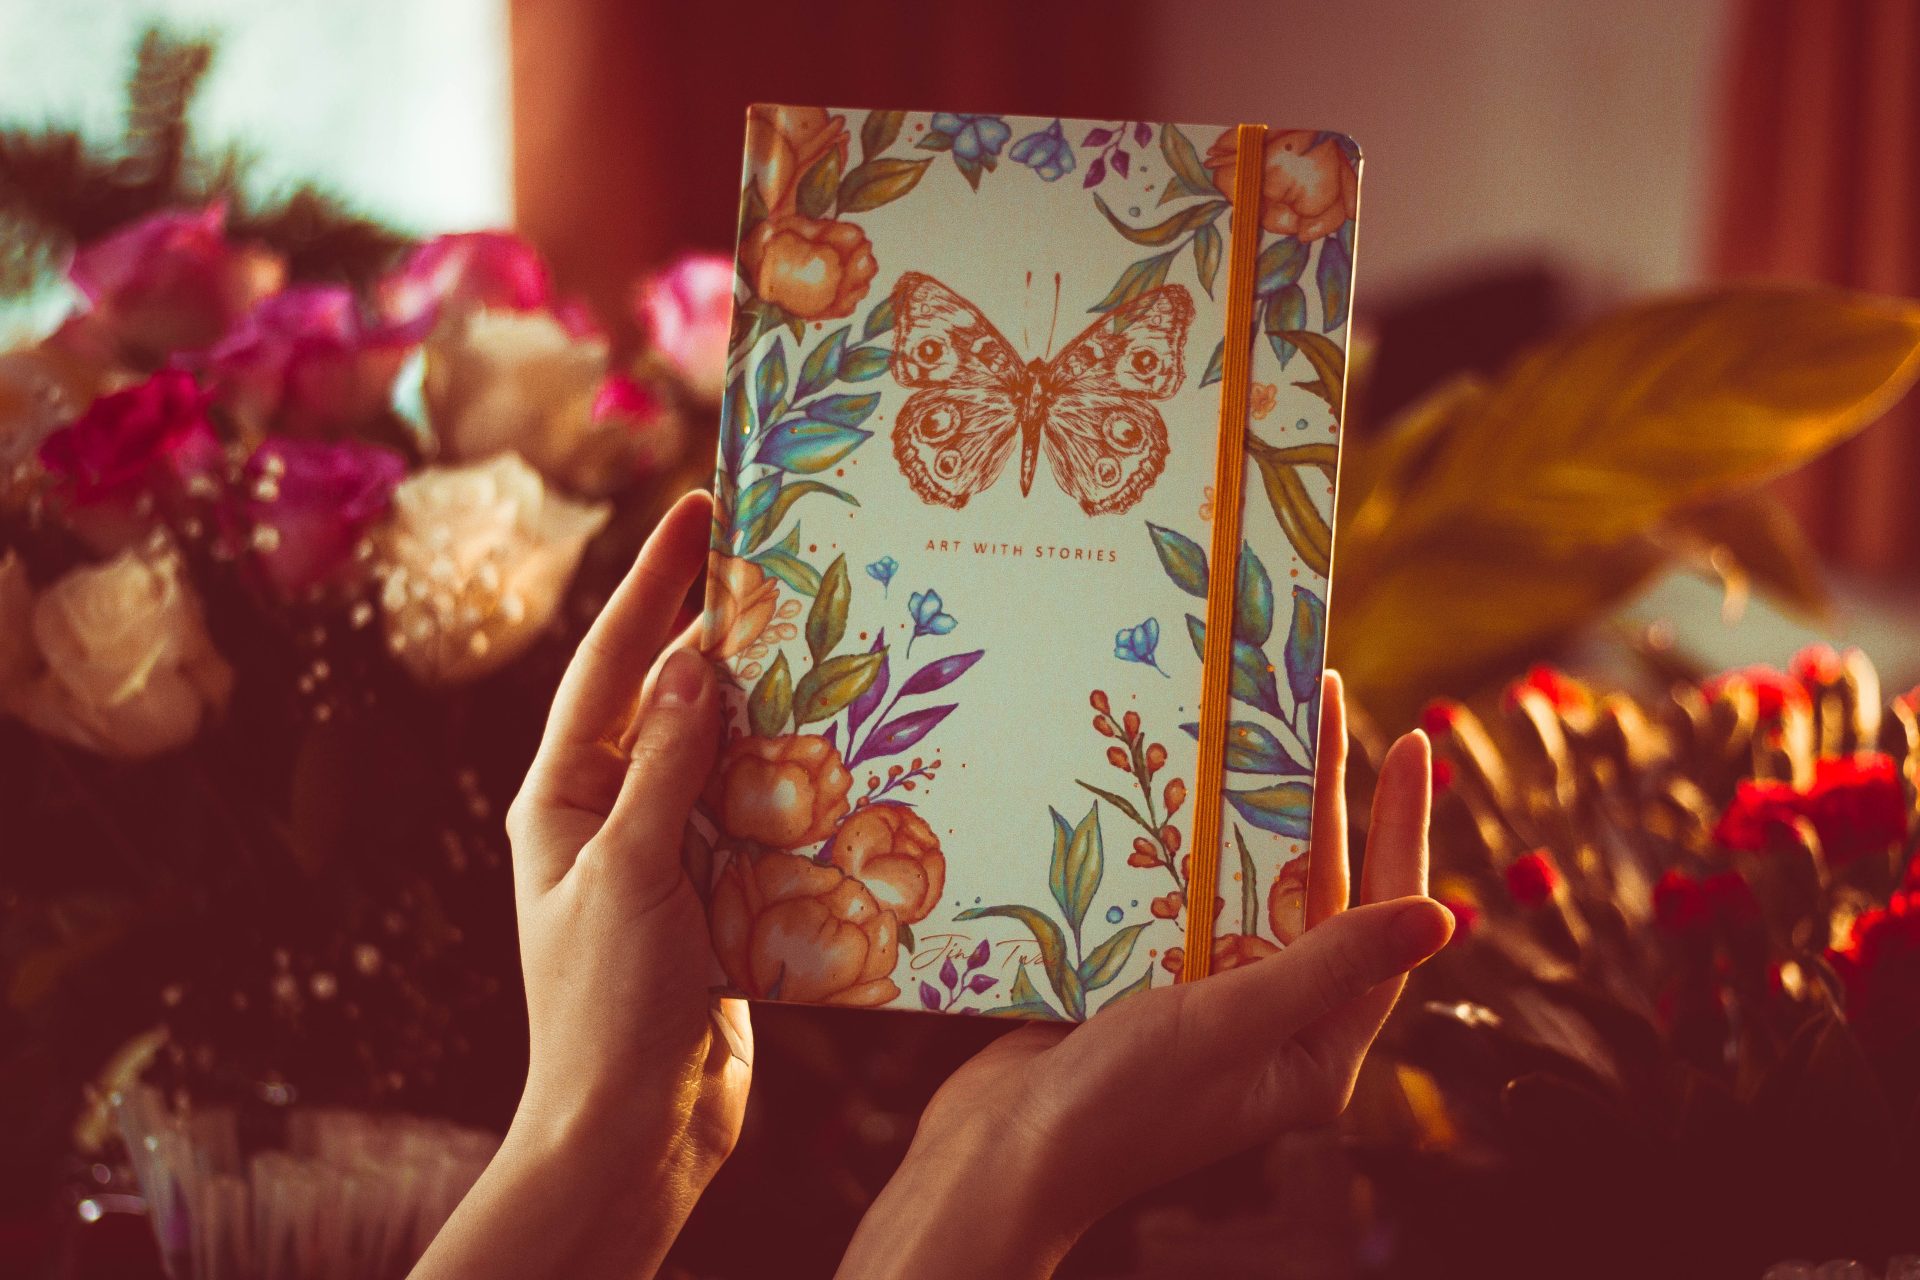
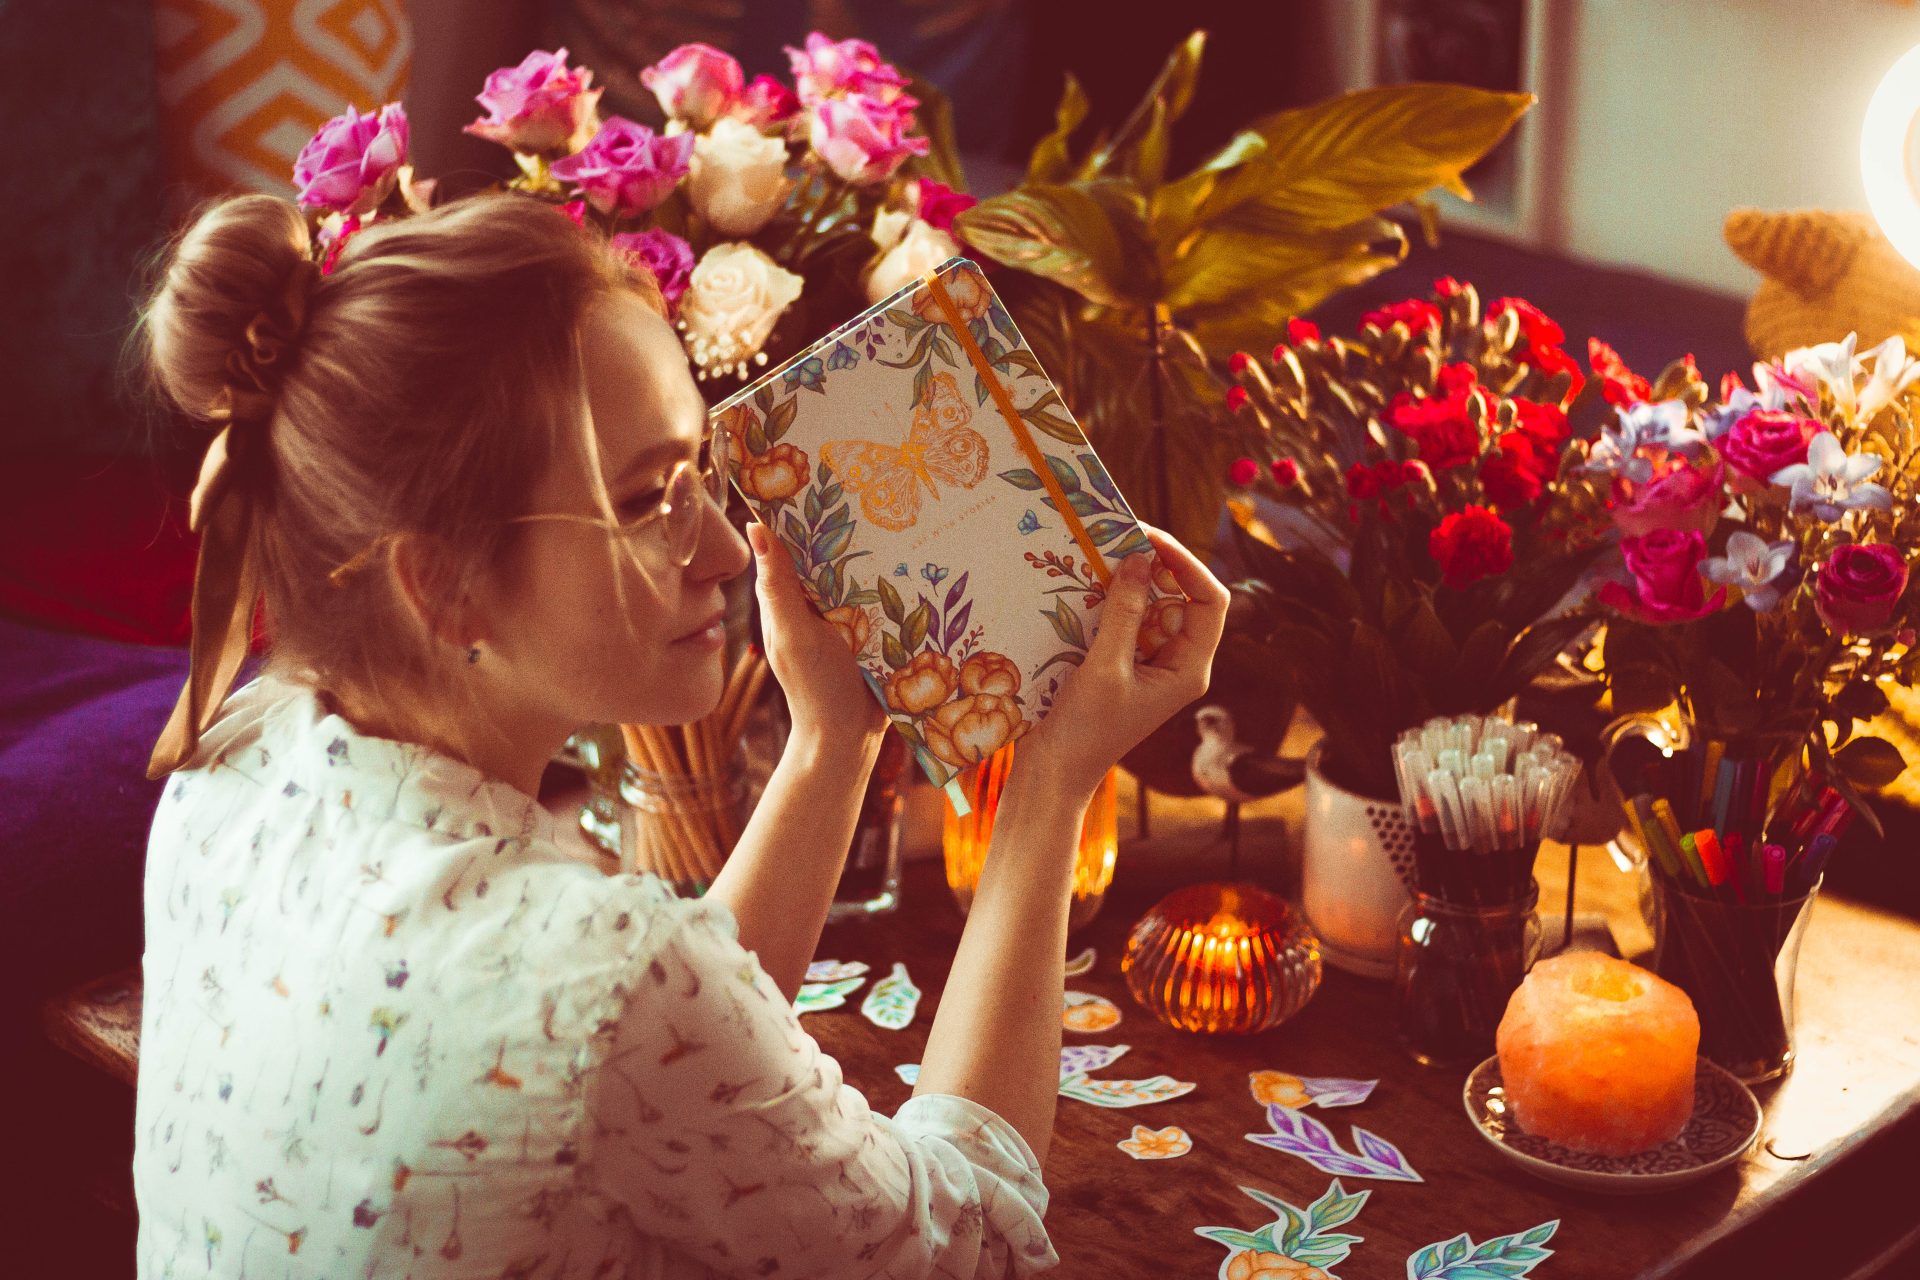
You’ve got your notebook/ design! And nobody can describe that feeling after months of work – finally holding your little ‘baby’. Well done!
Check as well all your goodies to see if everything is alright, in any case of damage and incorrect printing – deal with the seller immediately.
HERE YOU GO!
If you’ve really done all this hard work and came out with your final designed product without giving up – I am really PROUD OF YOU!
It’s important to keep creating, designing, drawing and sharing our art with others!
Hope you will not be turn away on this journey and will shout your art to the world!
GOOD LUCK!
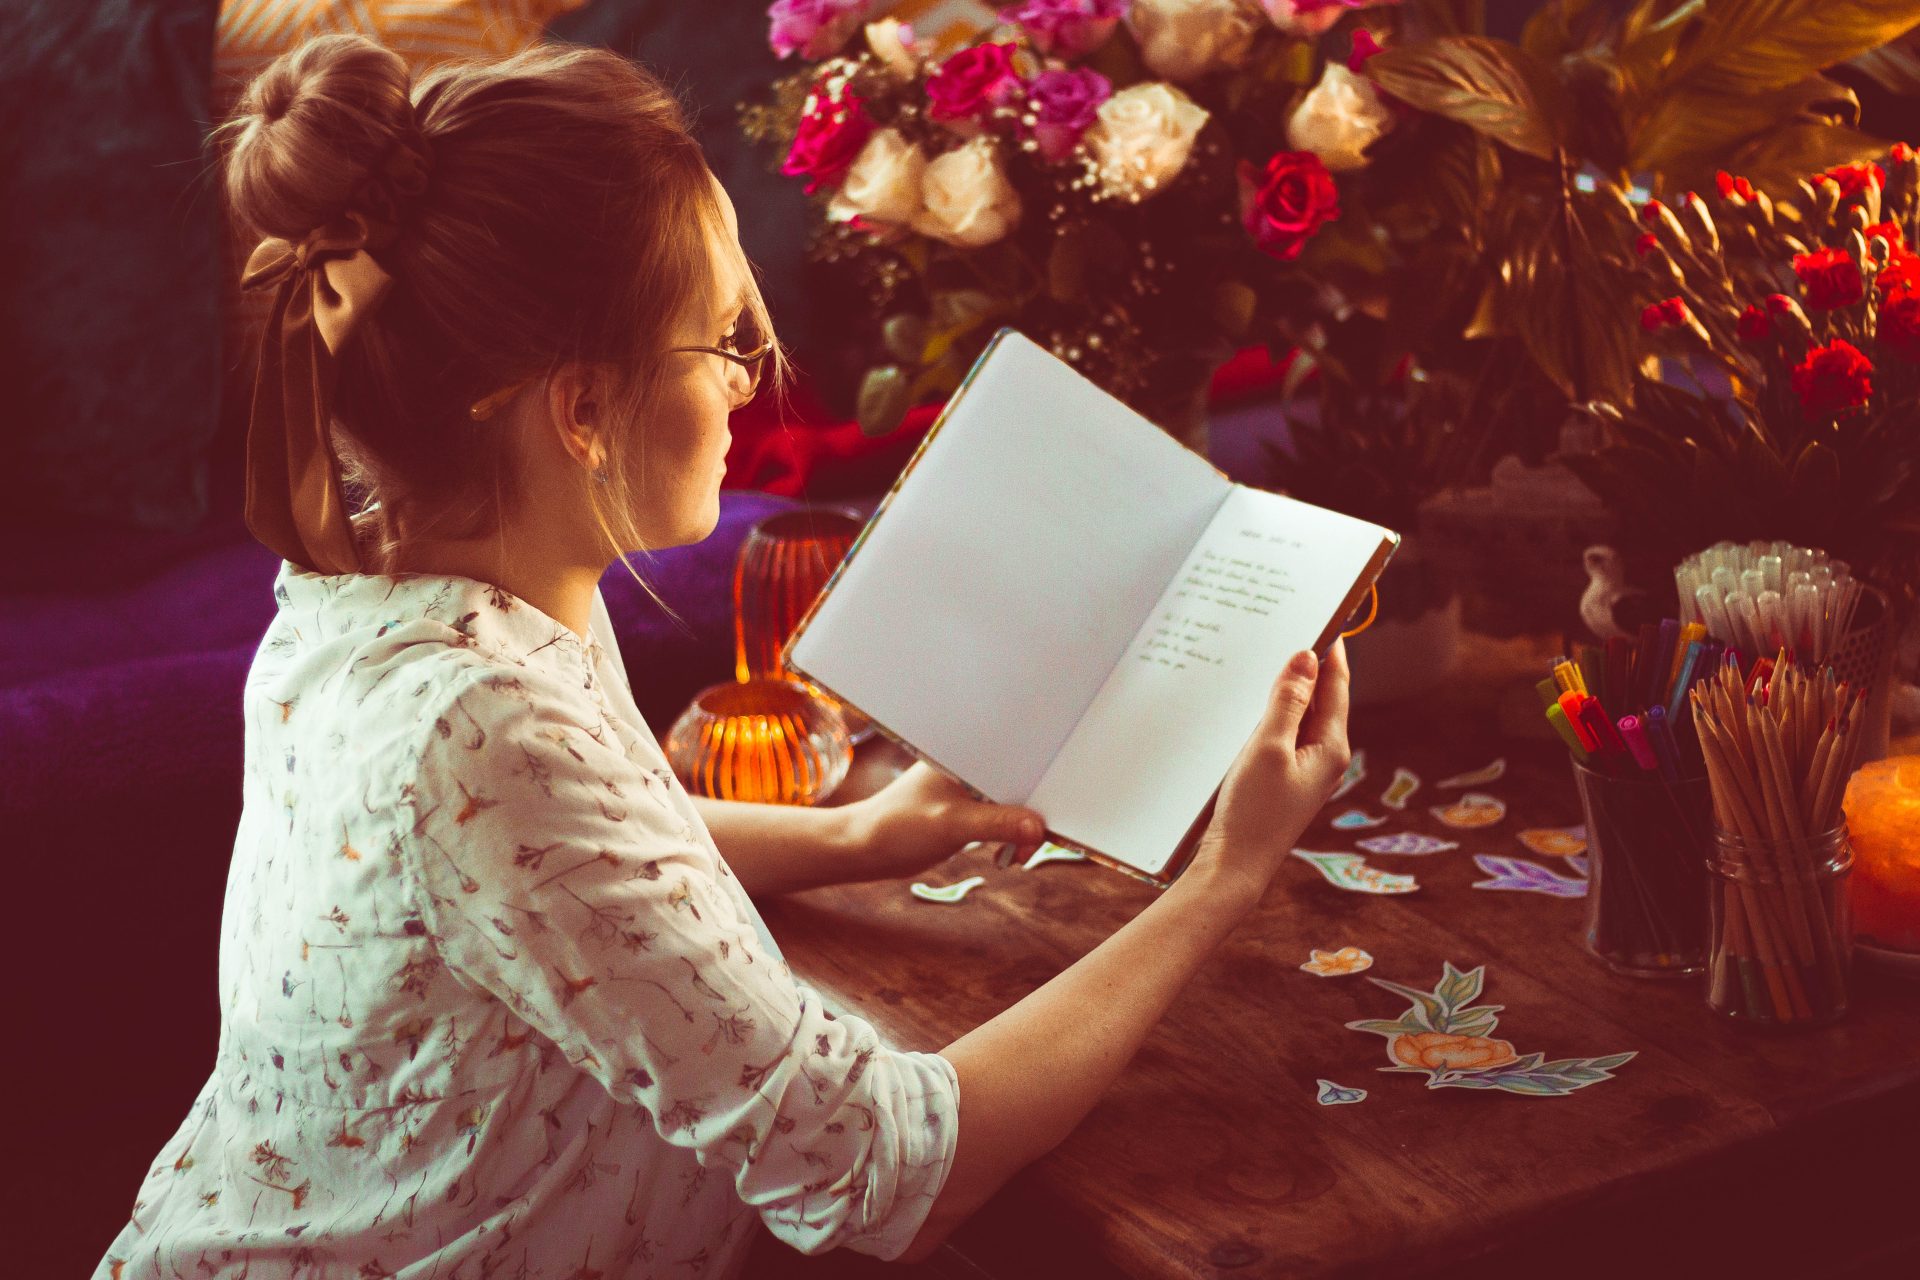

CREATING MY NOTEBOOK
It takes a time, a lot of effort and hard work. But it’s not difficult in a process by itself.
You’ll learn and maybe struggle but it’s always worth to bring your creativity to the world.
Jinn Twai
Learn some of the book design dictionary with the button down below, and get clever a bit more!